Understanding the roof installation process and phases will help you guarantee your new roof is properly completed, whether you’ve hired a professional or plan to do it yourself. Here’s a quick rundown on how to install roofing. To receive the best pricing, seek roofing price quotes from at least four pre-screened and licensed roof repair and installation experts before beginning your project. To obtain an estimate of how much your roofing installation will cost, talk to a roofer in Los Angeles. Services for commercial roofing in Los Angeles are also available for your roofing needs.
Remove the Roof and Secure the Property
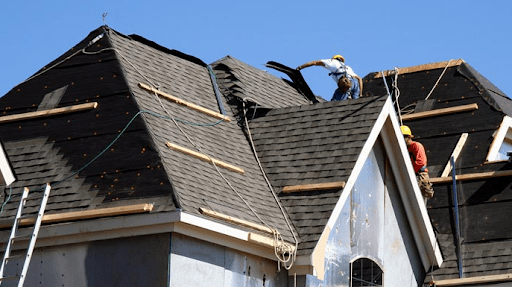
The first step in any new roofing installation is to ensure the safety of your home. To prevent roof debris from causing damage or lingering in hard-to-reach areas, roofing services in Manhattan Beach carefully cover neighboring shrubs and landscaping with tarps. They use an equipper, a hydraulic dustbin that lifts to the level of the roof, to keep your old roofing material contained. Instead of letting old roofing material flutter down to ground level, where it would disperse and be time-consuming and difficult to remove, roofing specialists can swiftly and efficiently pitch it right into the garbage with this sophisticated equipment.
Sheathing that has Decayed Should be Removed and Replaced
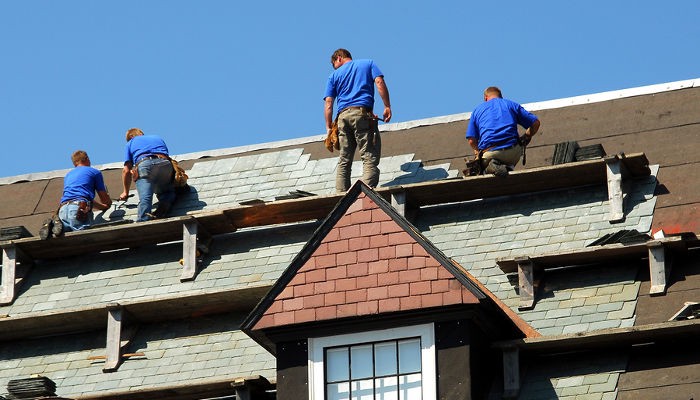
After the shingles have been removed, a team of specialists inspects the exposed sheathing to see if any damage needs to be addressed. Water damage to areas of the existing sheathing is particularly common. Roofers remove the damaged sheathing and replace it with new, fresh sheathing to give a stable foundation for your new roof.
Set Up the Drip Edge
During rainstorms, drip margins help protect the roof by maintaining efficient water shedding and preventing horizontal rain from entering the roof system. According to local rules and manufacturer standards, the drip edge will be fitted 4″ on the center.
Putting and Installing the Underlay
Make sure the underlying system you choose complies with your project’s Building Regulations. Place a batten at the top of the underlay support tray along the length of the roof and roll your underlay over it. The batten will keep the underlay from falling between the rafters and may be easily removed once the underlay is in place. Begin tacking the underlay into place on the right side of the roof. Roll the underlay across the floor, leaving some slack in the system. You may need to leave a space at the ridge of the roof to allow air to circulate effectively, depending on your ventilation system.
Battens and Roof Tiles Measuring
Find out the length of your tile’s hanging cord. Subtract the length of the tile that will dangle over the roof from the total (to allow any off-flowing liquid on the roof to flow into the gutter). Your first fixpoint is where the top of your first batten will sit as a result of that computation. The next step is to identify your top fixpoint, which you can get from your ridge system of choice. Then measure the top and first fix points to figure out how much room you’ll need for your battens. To prevent the roof tile from failing, make a note of the minimum and maximum gauge/batten spacing for the tile.
Examine and Clean up
Experts will remove old roofing material, nails, and other stray materials after your new roof has been installed and inspected. They clean your gutters to get rid of any debris that fell during the roofing procedure. You can find every type of roofing service in Manhattan Beach, whether domestic or commercial roofing in Los Angeles.

Installing the Battens
Ensure that the timber battens you use for your roof tiles are the correct size. Line up the top of the batten with your chalk line and nail it to each rafter along the roof’s length. For the height of your ridge batten, check with your provider. Using your batten strap, secure the ridge batten in place and continue along the length of the roof, securing it to the rafters as you go. Then, to keep the ridge firm, place your top batten over the batten straps. This is an important step in preventing major roof failures.
Putting and Placing the Tiles Together
Lay the first course of tiles across the roof in its entirety. Make sure each tile has at least one fixing. Install the ridge to roof closing system. This is easily screwed into the bargeboard or clipped to the top of the fascia and fitted over the tile’s edge. Finally, install the surrounding sections according to the manufacturer’s directions.
Allow Time for the Roof to Dry
The next stage is to allow time for your new roof to dry before putting it to use. You don’t need to do anything during this phase except wait for the adhesive to dry and make sure it doesn’t become wet.